This month you are in for a real treat. Stuart Townend and Aaron Keyes’ contemporay hymn My Soul Finds Rest in God Alone, taken from Psalm 62, is always really popular and is free for the month of September.
Unless you are confident with using a DAW such as Ableton, you will need a copy of Worship Backing Band’s Mac/PC or iPad MultiTrack Player to play the backing track. MultiTrack is the simplest and least expensive solution to get a full band sound from your worship team, even if you’ve only got a couple of musicians.
The new Transition Player: everything you need to know
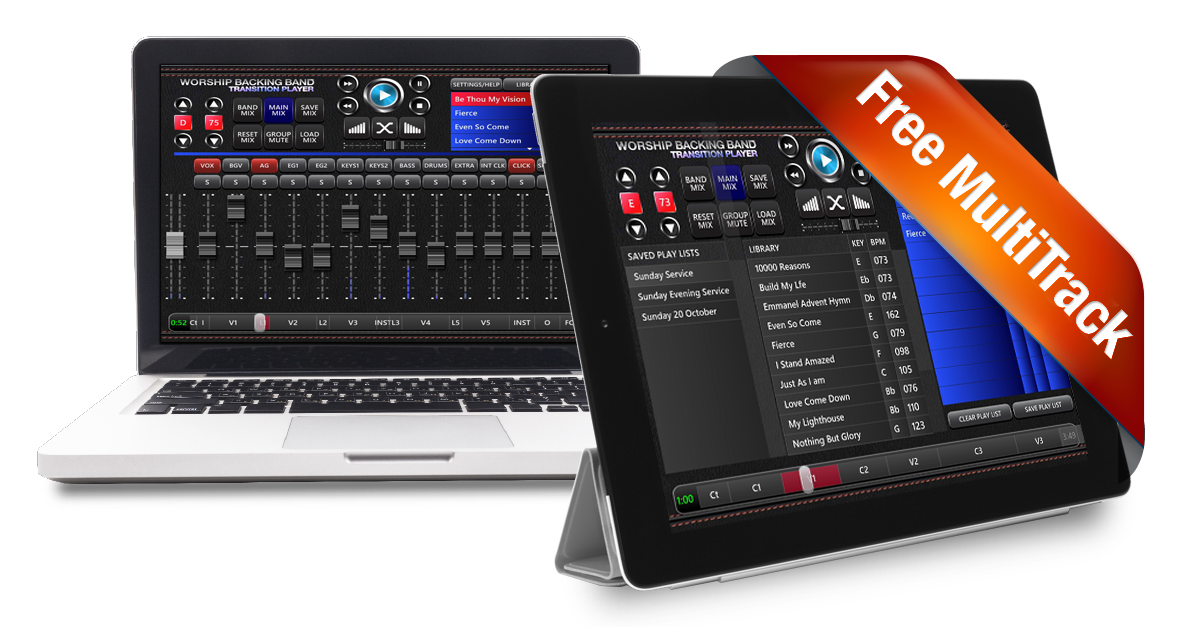
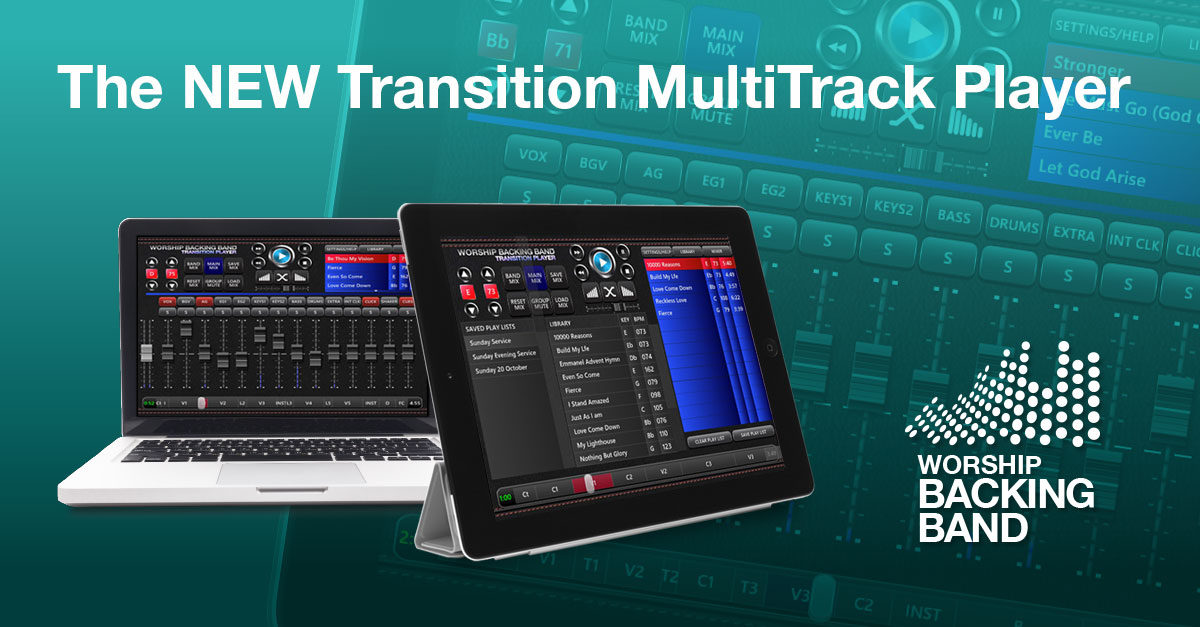
The new Worship Backing Band Transition Player is an easy-to-use MultiTrack Player for Mac, PC and iPad. It incorporates touch screen support for devices with that functionality and can also be used with a footswitch.
It has a number of exciting new features that were not available in our old Player. Whilst based on the functionality of our iPad Player, the new Mac and PC Transition Player also allows you to import your own and third party MultiTracks.
It also comes with EIGHT free MultiTracks!
MultiTracks are designed for worship teams with missing musicians. They give the versatility of live worship even when you have few (or no) musicians.
Choose your instrument mix, adjust volumes, loop, jump and repeat song sections, change key and tempo to suit your congregation.
In the player hit the Library button. You’ll see all your songs in the central pane. Swipe, or click and drag them to the right to build a playlist.
You can drag and drop songs to re-order the list.
You can hit the play button on the red highlighted song or double click to load a different song.
If you want to save your playlist select the SAVE PLAY LIST button at the bottom right. Playlists can be named here and will appear in the left hand column.
Load, re-name or delete any playlist with a long press or click and hold on the playlist name itself.
The group mute button is like a global mix override that works for every song.
It is very useful for setting up a standard mix to work with your worship team. For example, you may always have an acoustic guitar, bass and keyboard in your band so these can be muted all the time. Using the ‘group mute’ function in this way means that you don’t need to set muting individually for every song.
If, however, you want to set up a mix for each song in your set it would then be possible to use the ‘group mute’ to hear a different combination of instruments. For example, being able to strip back to just bass and drums in the middle of a song.
All mixes are reset back to default by hitting the reset mix button.
The Worship Backing Band Transition Transition Player can use any audio interface and can send output to up to 8 channels (2 channels on the iPad). To do so, select the audio interface from the selector on the audio settings page and select “Multichannel Output” instead of ‘Default Audio Split’, and set the dial to the number of channels you want to use. This will then show a list including “Main Mix” and “Band Mix” as well as several audio stem groups. The Main Mix, Band Mix and other groups of stems can be played on the different channels by dialing the number dial beside the group name to match the desired channel number.
For instance, to send all key stems (such as keys, piano, etc) to channel 4, set the dial beside ‘Keys’ to read ‘4’. Multiple stem groups can be sent to the same channel. If the dial shows ‘X’ the stem group is set to Off and will not play on any channel.
On Windows (only), you may want to select ‘ASIO Mode’ if recommended by the audio driver for your interface.
There are two mixes, a right audio channel main mix for the congregation (known as the front-of-house mix) and a left audio channel band mix, which also has a number of click tracks and cues to use as foldback for the band. These mixes are completely independent of each other.
By default the main mix is set with everything flat and the band mix just has the clicks and cues audible.
The basic idea is to mute the tracks where you have live instruments playing and then boost or cut the other instrument stems to taste.
Note that the click and cue tracks only play through the Left audio channel in the band mix; they never appear in the front-of-house (Right) mix.
If you are struggling to hear the difference in right and left do check with a pair of headphones.
There are four click tracks to help the band navigate the song and these function purely on the band mix. There’s a two bar intro click plus a full length click. There’s also a less obtrusive shaker click if you are just putting the tracks through an amp or are worried about the congregation hearing a hard click through your foldback monitors.
Finally there’s a spoken word vocal cue that is there to count in song sections and remind the worship leader and band of hard-to-remember lyrics.
Simply mute whichever tracks you do not want to hear.
At any time hit the mixer button at the top right and you’ll see the stem sliders appear where you can set up your instrument mix.
There are 14 instrument stems in every song. Lead vocals, background vocals, acoustic guitar, 2 electric guitars, 2 keyboards which is often but not always a piano on keys 1 and something more textural like a pad or Hammond organ on keys 2, bass guitar, drums and a range of click tracks and vocal cues. In some songs some stems may be silent (i.e. have no backing vocals).
You can mute any instrument stem by clicking on its stem name. It will turn red when muted. Hit it again to unmute it.
Pressing the S button directly underneath the stem name will solo that stem.
You can also boost or cut the level of any instrument stem with its respective slider.
Finally on the very left there’s a pale grey master slider for overall volume control.
Settings are automatically saved per song, so even if you go to another song and come back those mix setting will be ready to go when you’re ready to play.
Lots of customers have asked about ways to keep music flowing between songs and for this we’ve built in some transition pad sounds. Controls are below the Play, Stop and Rewind buttons.
Clicking the left hand volume up button slowly swells in a pad sound in the key of the song currently being played. As the player sets up the next song in the playlist, if it is in a different key to the outgoing song, you have the option of pressing the crossfade (X) button in the middle. This will crossfade a new pad in the key of the upcoming song. You can start the new song at any time and when you’re ready, press the volume down button to the right of the crossfade button, which will slowly fade the pad sound out.
Overall volume control for the pads is on a little horizontal slider directly underneath the crossfade and swell buttons.